10. Workspace Robot Setup, Limits and Exclusion Zones
10.1 Robot Orientation
The user first needs to set up the robot in the workspace configuration page. The result should be that when the user moves the input device to the left, the robot should also move to the left. Likewise, if the user moves the input device up, the robot should also move up.
In the User Configuration page, you will find your connected robot.
Click on the robot in the left side object list
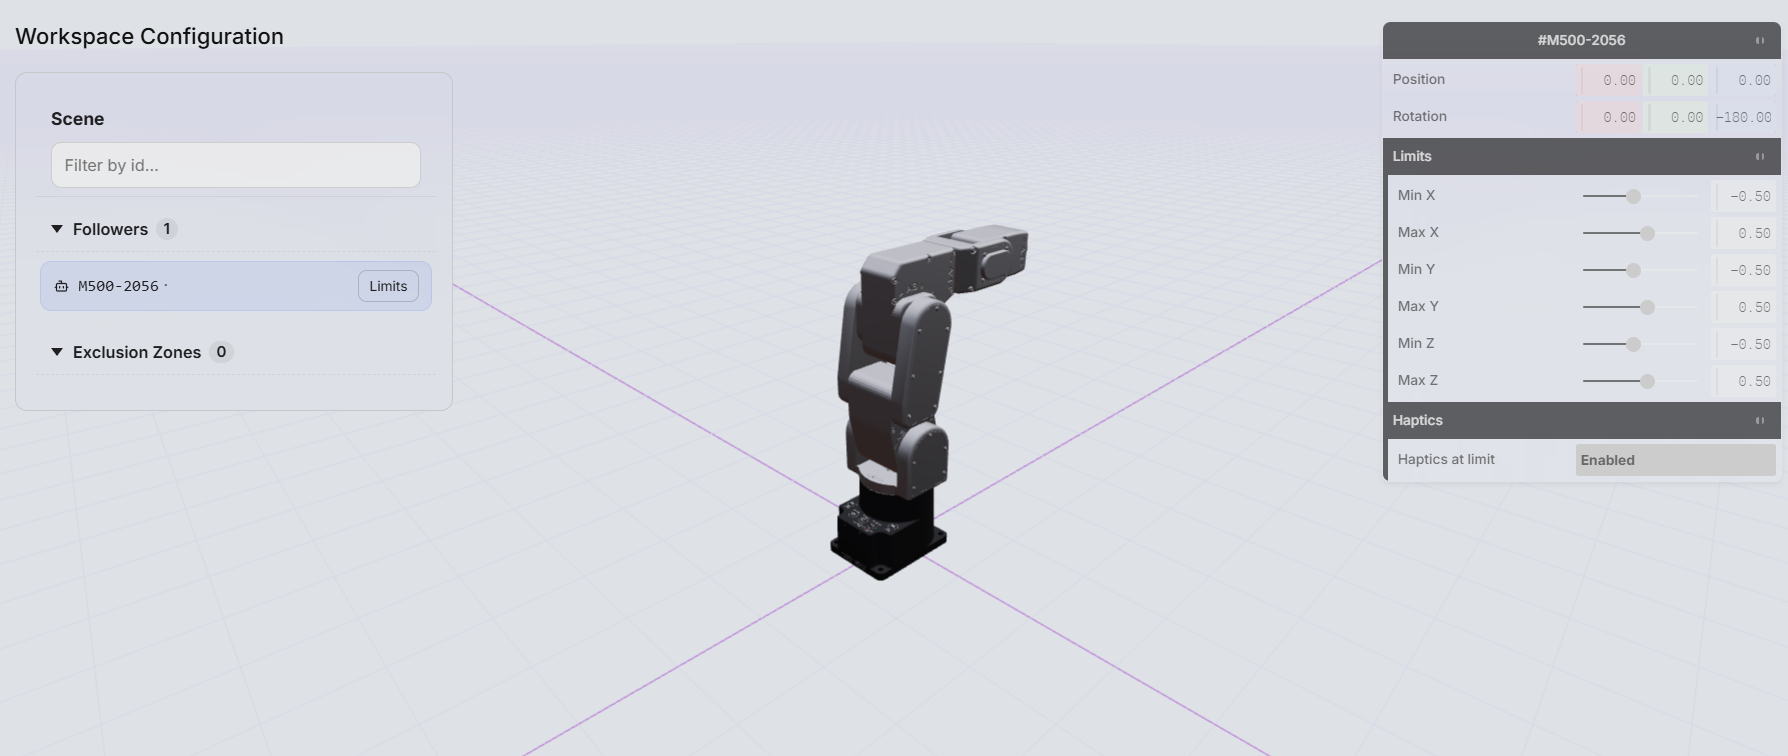
On the right side of the screen, you will see the robot variables appear. Here you can change the location of the robot base in the workspace as well as the orientation in case you would like to mount your robot in a different rotation than the stock setting.
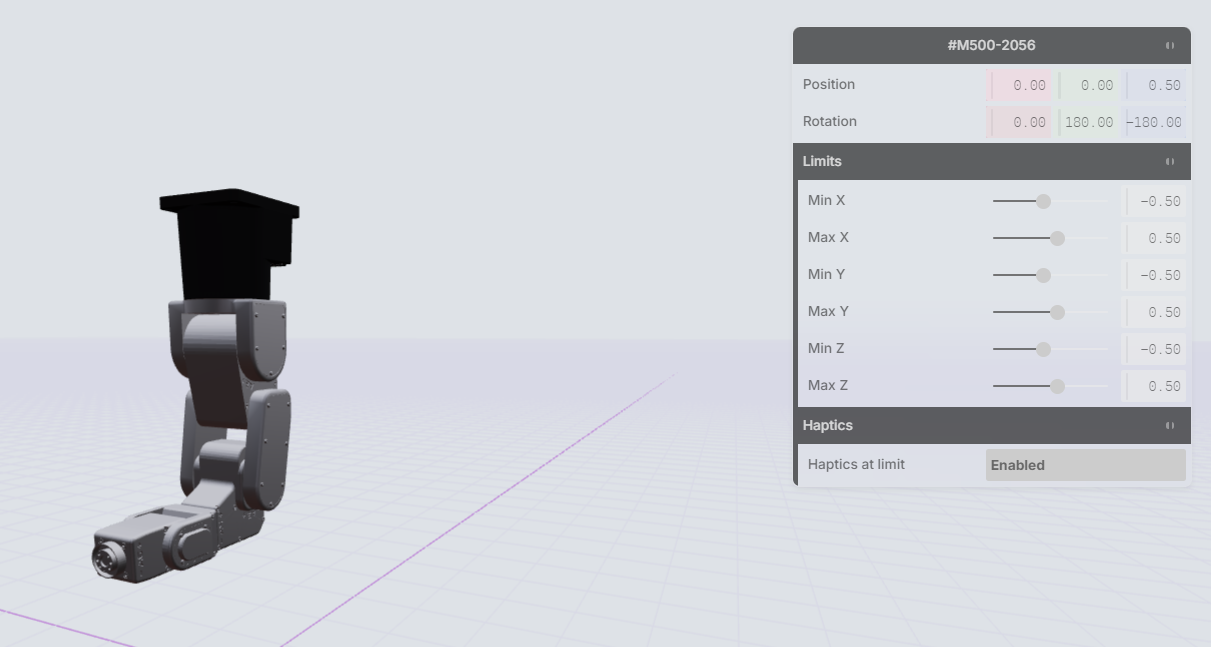
Press the SAVE button before leaving the page to keep your changes.
10.2 Setting Robot limits
The user is able to limit the reach of the robot by setting workspace limits. These robot limits are useful if you have an area where you don't want your robot to go.
As an example:
A) If your robot was inside of a robot cell, but it had a low ceiling on the enclosure, you could set a lower ceiling height for the robot limits, and this would prevent the robot arm from entering that space in relation to the end-effector TRF.
On the right side of the workspace configuration page, you will find the limit set points. Here you can set the maximum and minimum workspace movements in the positive and negative space of each axis.
Incorrect workspace limits or exclusion zones can cause the robot to move into hazardous areas. All limits and zones must be validated physically at reduced speed before operation around people or equipment.
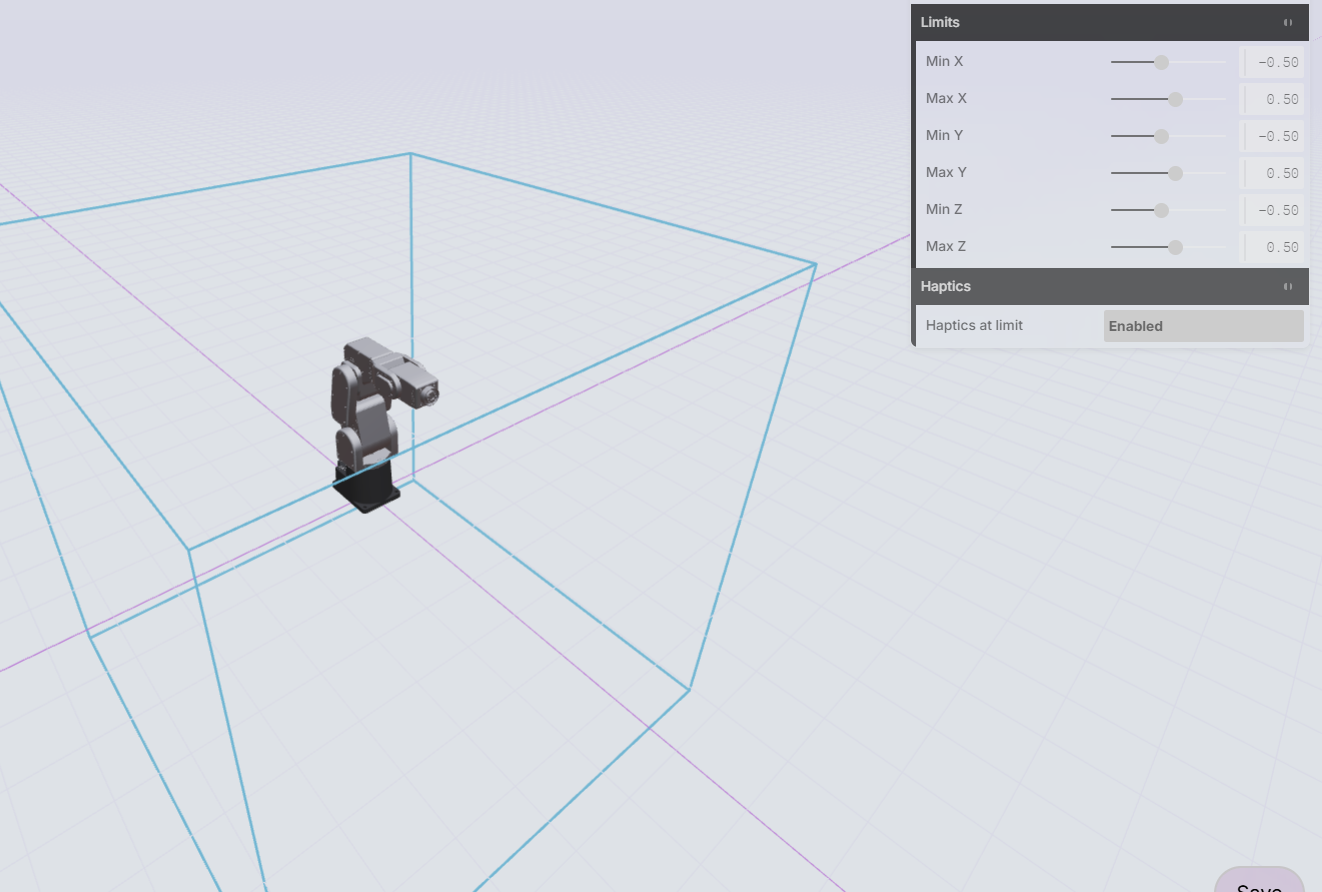
The Mecademic robot plug-in will take the limit settings in this workspace and add 1cm. This leads to the Mecademic controller enforcing these limits if HARP’s virtual limit system was not available.
Press the SAVE button before leaving the page to keep your changes.
10.3 Setting Exclusion Zones
Exclusion zones are virtual objects that you can place into your workspace to prevent the end effector from colliding with physical objects in your workspace.
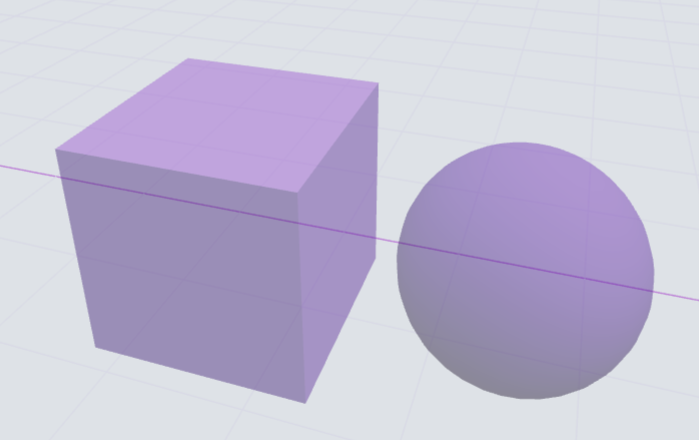
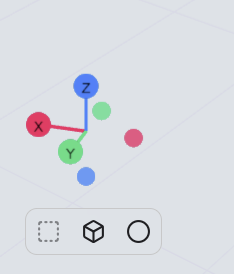
On the bottom left, you will see 2 icons, cube and sphere. Click on the shape you want to add to the workspace.
The object list has added the new exclusion zone to the list.
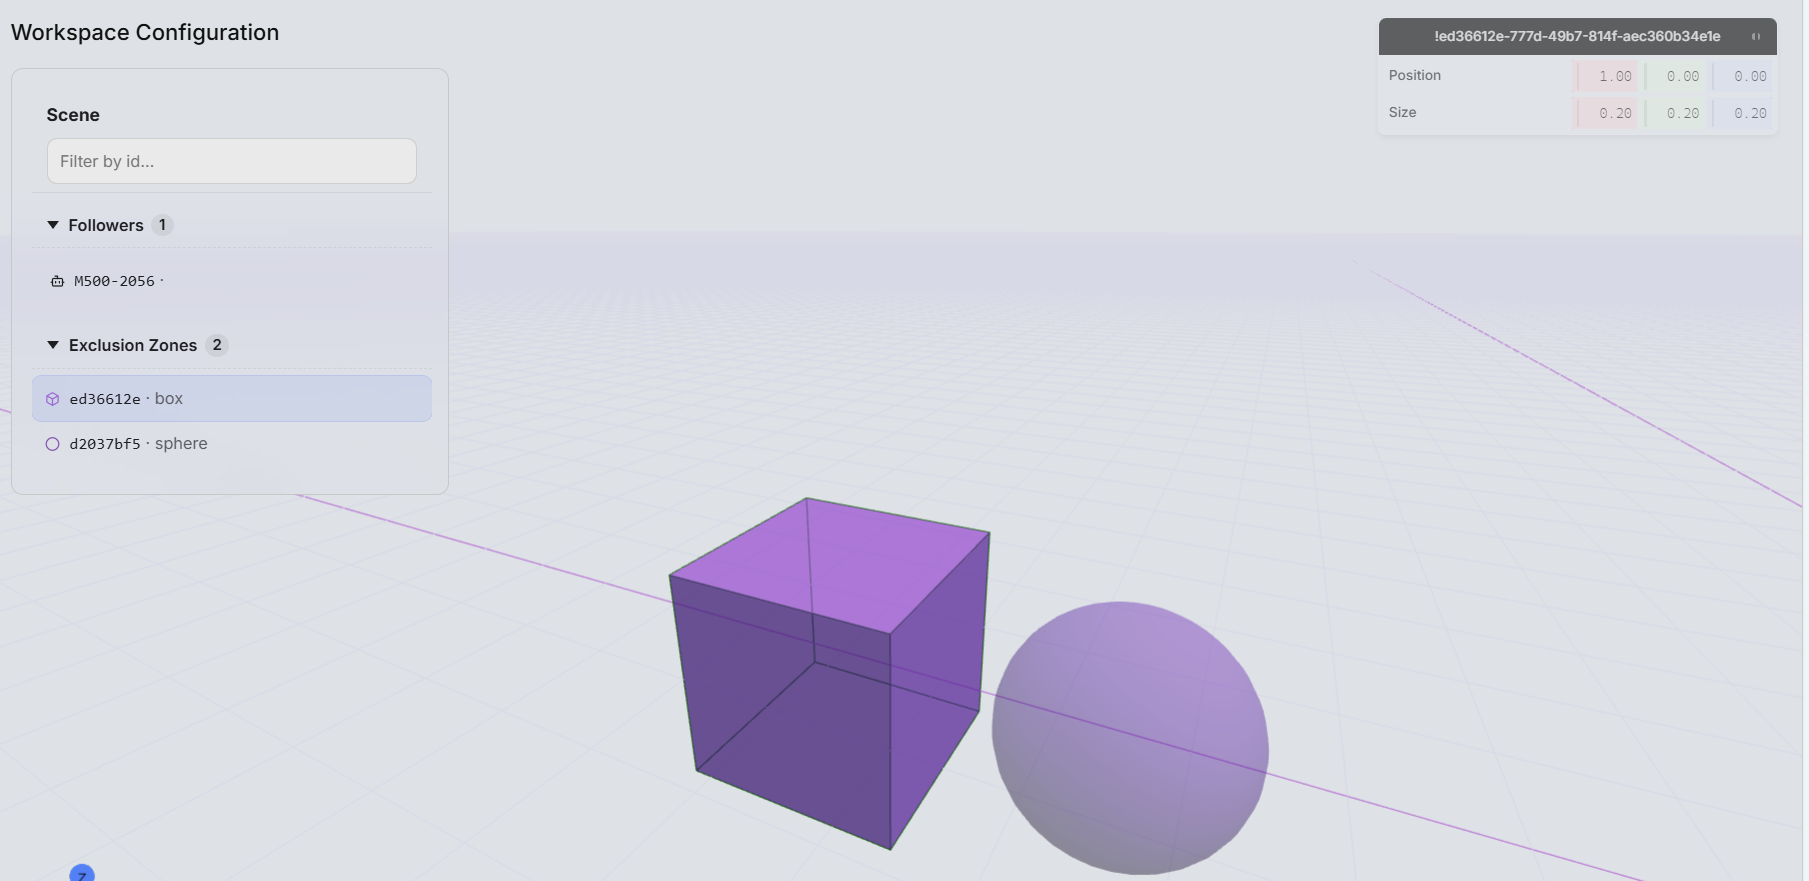
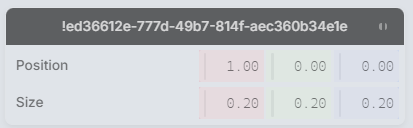
On the right side, you will see the variables that are available for this exclusion zone.
Cubes have a position, length, width, and height setting.
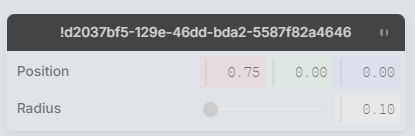
Spheres have a position and diameter setting.
Press the SAVE button before leaving the page to keep your changes.
10.4 Exclusion Zone - Playback Collision
During the playback of any robot recording, HARP will throw an error if the robot is going to go through an exclusion zone. Because it is possible to share recorded path files with other projects and other users, it is also possible that one workstation has exclusion zones that are in the way of the recorded path that were not there on the workspace where this was recorded. For this reason, HARP will read ahead in the file and determine if a collision between the future path of the end-effector and an exclusion zone will occur.
Case 1: If HARP determines that a collision will occur between the robot’s current position and the beginning position of a playback file, it will throw an error that identifies an exclusion zone is in the way of the recorded pass.
Case 2: If HARP determines a collision will occur while it is already playing back the recorded path, it will stop the playback and throw an error that identifies an exclusion zone is in the way of the recorded path.