Basic Force and Position Tutorial
This simple example explains how to apply forces and visualise the movement of an Inverse3 cursor. Completed example makes the Inverse3 feel like it is attached to its starting position with a rubber band while a spherical GameObject shows the cursor position.
Introduction
The Getting started Guide introduced the Haptic Thread object, its use, and how to generate constant forces. Our goal is to create a rubber band effect on the cursor. A rubber band acts like a spring i.e., its force depends on the stiffness and the distance between the two ends. Therefore, we need to build a function that takes position and stiffness and outputs force such that the cursor resists motion from the origin.
Scene Setup
Start by creating a new script ForceAndPosition.cs and add the following code to
ForceAndPosition class:
[Range(0, 800)]
public float stiffness = 200f;

private Vector3 m_initialPosition = Vector3.zero;

private Vector3 ForceCalculation(in Vector3 position)
{
    // save the first device effector position
    if (m_initialPosition == Vector3.zero)
        m_initialPosition = position;

    // return opposite force to stay at initial position
    return (m_initialPosition - position) * stiffness;
}
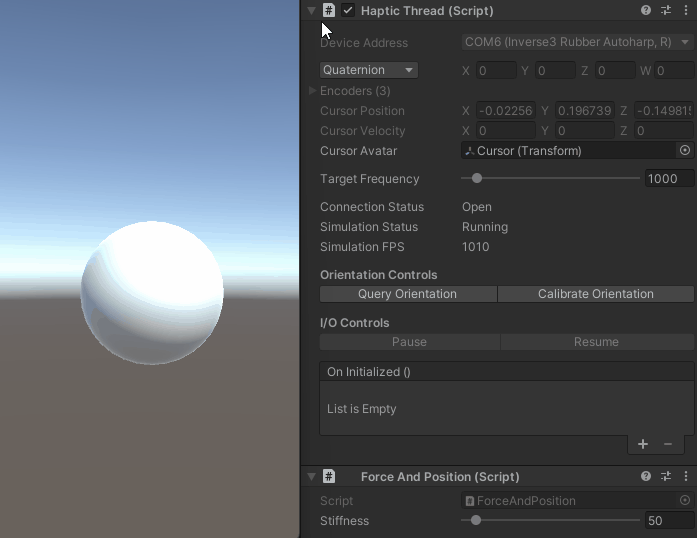
This code snippet defines stiffness as 200 Newtons per metre (N/m), which is a fairy soft spring.
It also defines m_initialPosition which is a vector that stores the initial cursor position.
The ForceCalculation method saves the initial position when it executes for the first time and
then calculates the force output that opposes cursor motion.
Finally add the following lines to the Awake method as shown in Getting started Guide
var hapticThread = GetComponent<HapticThread>();
hapticThread.onInitialized.AddListener(() => hapticThread.Run( ForceCalculation ));
The first line finds the HapticThread component attached to the GameObject, while the second line starts it.
Now hold the Inverse3 cursor and enter Play Mode and then try moving the device. Notice that moving the cursor results in a force and the further it moves from the starting point the greater the force.
Source files
The final scene and all associated files used by this example can be imported from the Force and Position sample in Unity's package manager.
using Haply.HardwareAPI.Unity;
using UnityEngine;

public class ForceAndPosition : MonoBehaviour
{
    [Range(0, 800)]
    public float stiffness = 200f;

    private Vector3 m_initialPosition = Vector3.zero;

    private void Awake()
    {
        var hapticThread = GetComponent<HapticThread>();
        hapticThread.onInitialized.AddListener(() => hapticThread.Run(ForceCalculation) );
    }

    private Vector3 ForceCalculation(in Vector3 position)
    {
        if (m_initialPosition == Vector3.zero)
        {
            m_initialPosition = position;
        }
        return (m_initialPosition - position) * stiffness;
    }
}